Not to be overlooked or forgotten about, the temperature of your fish tank is one of the most important factors you need to consider when creating an underwater ecosystem that’s suitable to support life. Poorly maintained water temperatures can have a considerable effect on the health of your fish, plants and corals, as they all need specific conditions in which to thrive. Fish in particular are poikilothermic or “cold-blooded”, meaning their bodies don’t produce their own heat and instead match the temperature of their environments. This means that your fish are wholly dependent on the water in their tank being maintained at the right temperature. Fortunately, setting and maintaining temperature isn’t a difficult task once you know how, and our own fishkeeping experts here at Aquacadabra are here to help.
Whether you’re setting up your first tank, or are worried about the health of your fish and think water temperature might be to blame, join us as we cover the three main steps of achieving the right aquarium temperature; research, set up and maintenance. From figuring out what temperature your fish need to match their native environment, to getting the right equipment for heating and cooling, we can help you create the perfect temp for your tank.
What temperature should my fish tank be?
What temperature your fish tank should be entirely depends on the fish (or plants or corals) you have in it. Everything in your tank, from temperature to salinity, should be specifically tailored to whatever is living in it. So, rather than asking ‘what is the right aquarium temperature?’, you should instead ask, ‘what temperature do my fish need?’.
In most cases, the type of fish you keep will either be ‘tropical’ or ‘coldwater’, with some fish comfortable in temperatures in the middle of these ranges called ‘temperate’. Tropical fish tanks are usually kept at temperatures between 24-27°C (75-80°F), with most tropical fish species such as bettas comfortable living in waters within this range. Cold water fish, like the ever-popular goldfish, need lower temperatures with the usual range of cold water tanks sitting between 15-24°C (60-75°F). Temperate fish have some crossover, with species like guppies and tetras happiest at room temperature between 18–23°C (64-73°F), which is standard for a temperate fish tank.
What is the best water temperature for different fish?
While you can get a good idea of the right water temperature for your aquarium based on whether or not it's coldwater, temperate or tropical, the best way to ensure the health of your fish is to base it on their specific species’ needs. After all, not all tropical fish can live in the full 24-27°C range and might need to be kept on the lower end of the scale, such as platy fish which like the lower-tropical temperatures of 24-25.5°C (75°-78°F).
To help you pick which fish to add to your tank, and how to keep them healthy, we’ve compiled a list of fifteen of the most popular fish and their preferred temperatures below. If the fish you had in mind isn’t included in our list, don’t worry, you can also ask our experts for personalised guidance.
- Angelfish - 24-29°C (75-84°F)
- Barbs - 24-26°C (75-80°F)
- Betta fish - 24-27°C (76-81°F)
- Catfish - 22-27.75°C (72-82°F)
- Cherry shrimp - 18-26.5°C (65-8°F)
- Clownfish - 22-25.5°C (72-78°F)
- Discus Fish - 27.75-30°C (82-86°F)
- Dojo loach - 14-25º C (58-77°F)
- Goldfish - 18-22°C (65-72°F)
- Guppies - 22-26°C (72-79°F)
- Killifish - 22-24°C (72-75°F)
- Molly Fish - 25-27.75°C (77-82°F)
- Platy Fish - 24-25.5°C (75°-78°F)
- Tetra Fish - 22-25.5°C (72-78°F)
- White Cloud Minnows - 18-25°C (65-77°F)
How to maintain water temperature in a fish tank
Once you’ve done your research and found out what temperature your fish need to thrive, the next step is to set up your aquarium with the right heater or chiller (if they’re needed) to keep the water in the right range.
Before we go into how to maintain temperature, however, it's worth pointing out to the nervous fishkeepers among you that small changes in temperature are natural. Even in their native habitats, fish will be exposed to these fluctuations, which is why many experts even think they’re good for your fish, helping to boost their resilience in the same way light stresses and illnesses improve our own human immune systems. However, while out in nature rivers and seas have different micro-habitats such as in shaded caves and deeper water, the temperature of a tank is much more uniform, so big spikes and drops in temperature are harder for your fish to evade.
Overall, if you're a beginner and concerned about maintaining your tank at exactly the same temperature at all times, try not to worry too much - though we know that can be difficult advice to follow when it's your new fishy friends on the line! While there’s some debate on how much fluctuation fish can stand, the general rule to follow is to be careful to avoid drastic and rapid changes. With the right equipment (and some handy tips and tricks for beginners which we’ve included at the end of this blog) you’ll be the proud owner of a healthy, well-balanced tank in no time.
Fish tank temperature equipment list:
- A water thermometer - An essential for every type of tank, whether you’re considering coldwater, temperate or tropical fish, you’ll need a good water thermometer in order to get accurate readings on your tank. These are available at a range of price points, and you can find both submersible and external models in our full tank thermometer collection.

The Juwel Digital Thermometer 3.0 is ideal for fishkeepers who want to take regular tank readings at a glance, as the large display fits easily onto the top of your aquarium and can be easily seen from a distance. This model uses an external sensor too, making it suitable for both saltwater and freshwater tanks.
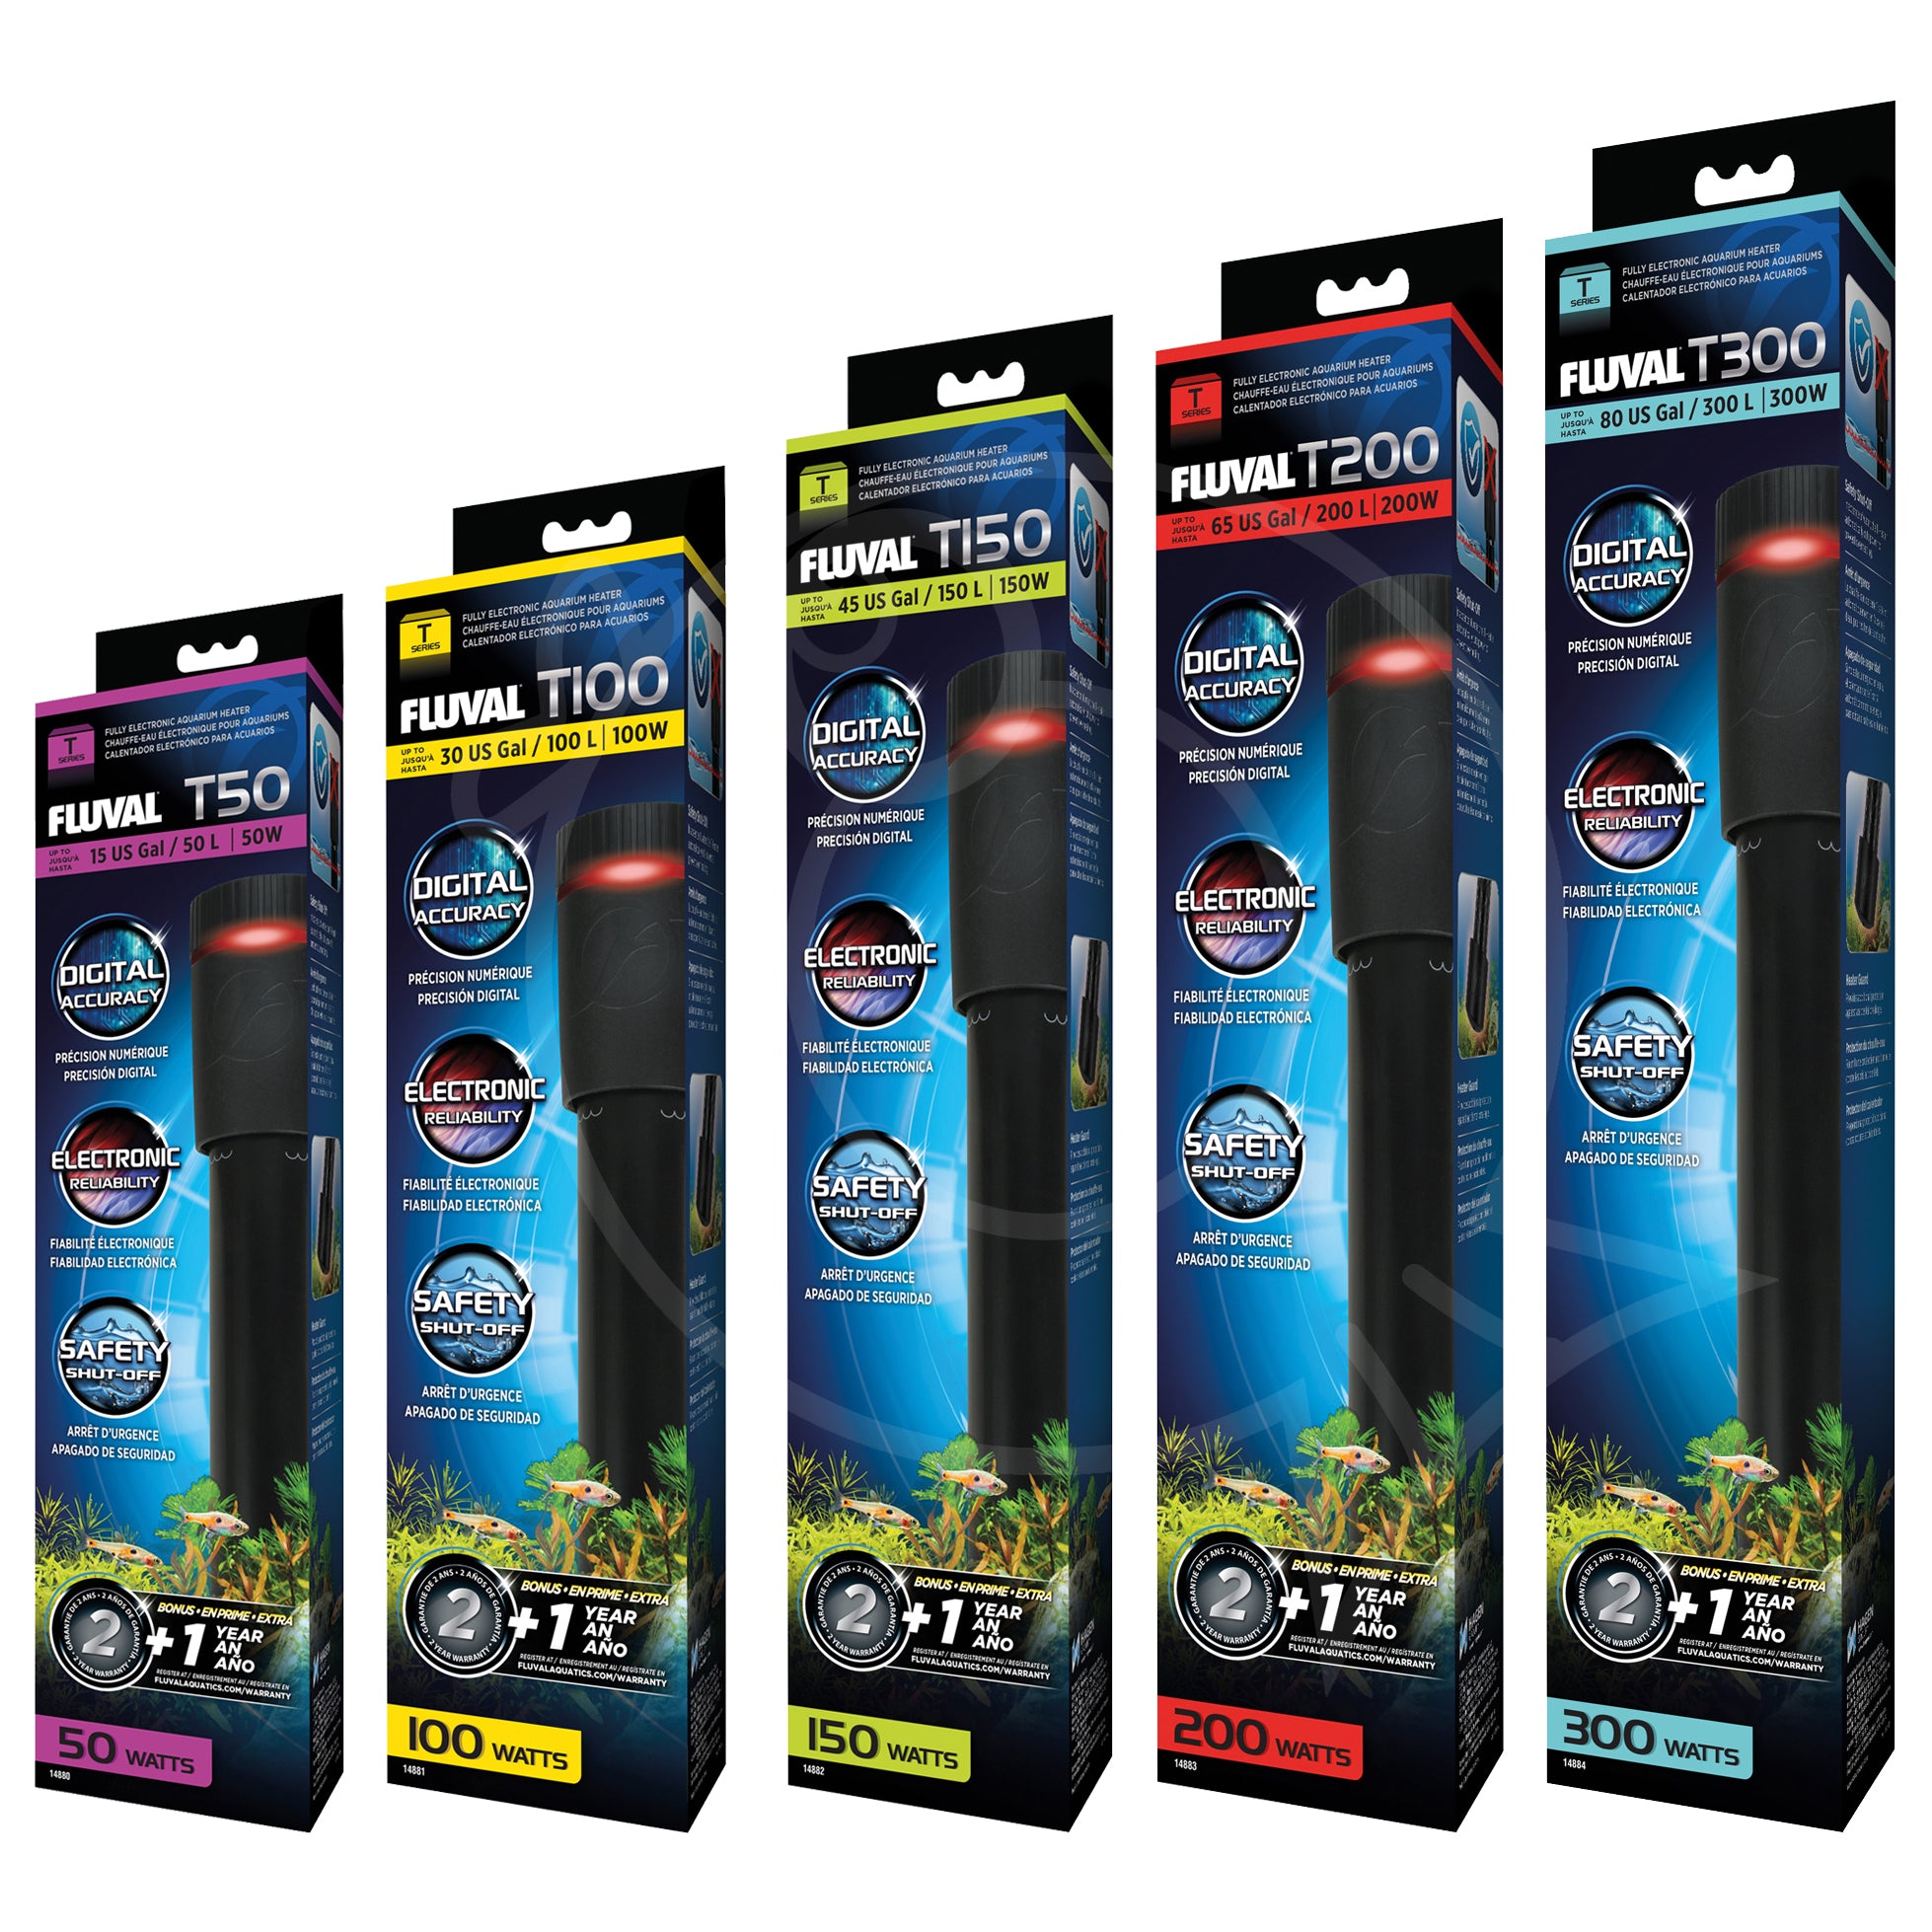
- Tank heater - If you’re planning to set up a tropical aquarium, you’ll need a tank heater to increase the temperature of your water to the suitable level. When shopping for an aquarium heater, you’ll need to pay attention to the wattage, as you need one that’s powerful enough to handle the volume of water in your tank. Generally, the rule to follow is one watt per litre of aquarium water you need to heat, so if your tank is 100L, look for a heater which is at least 100W. If your home is usually on the colder side, we also recommend erring on the side of caution with more wattage, as the starting temperature comes into effect too, so colder rooms require more powerful heaters.

In our collection we have the full range of HeatUp Aquarium Heaters, which are available in wattages ranging from 25w up to 300w. Featuring a patented temperature control system, the HeatUp series allows you to precisely adjust the temperature of your aquarium, while the bi-metal sensor provides accurate readings to ensure a uniform view of your water can be measured at all times.
- Tank chiller - If you’re keeping a cold water tank, you’ll need to invest in an aquarium chiller to keep the water at a sufficiently cold temperature for your fish. These are typically more expensive than tank heaters, costing anywhere between £500 - £1,500, depending on the size of the tank they’re designed for.

The D-D DC750 Aquarium Chiller is a powerful piece of equipment designed to lower the temperature of tanks holding coldwater species. The 750 wattage is powerful enough to drop the temperature of a 300L tank by 10°C, or by 5°C in a larger 600L tank. The chiller itself is easy to install and set up, and can be safely stored away in most cabinets.
- Cooling fans - If you’re trying to keep to a budget when creating a tank, it may be worth considering stocking temperate fish species that can cope with levels closer to room temperature. Fluctuations in temperate tanks can be harder to control without the constant supply of power from a heater or chiller, but additional equipment such as cooling fans can help to stop sharp rises caused by heatwaves.

Cooling fans, such as the JBL ProTemp Cooler x200 can be affixed to open-top tanks and lower the temperature of the water by increasing surface airflow and evaporating the warm water. While effects will differ from model to model and the power they have, the JBL ProTemp x200 is suitable for aquariums between 60-200L, and lowers temperatures by between 2-4°C.
Fish tank temperature tips and tricks
While we would always advise getting the right equipment for your tank and investing in a trustworthy and accurate thermometer, there are other things you can do to help keep your aquarium water temperature as steady as possible. From picking species that need the same temperature ranges, to making small and frequent water changes to limit fluctuations, we’ve included our top tips below:
- Fish species selection - Be careful when selecting which fish to keep in your aquarium together. They should all be happy co-existing in the same temperature range as one another, for example killifish and tetras, which have a crossover temperature range of 22-24°C (72-75°F).
- Choose hardy fish - If you’re new to fishkeeping, aren’t confident in your ability to maintain a fish tank temperature consistently, or are helping teach your child the basics of fishkeeping with their first tank, we recommend picking hardier fish which can survive in a wider range of temperatures. Goldfish are particularly hardy fish, and as a temperate species they can survive in room temperature tanks that don’t need chillers or heaters (though investing in a cooler fan might still be necessary to protect them from the effects of summer heatwaves).
- Check thermometer frequently - In order to make sure your tank isn’t undergoing water temperature fluctuations through the day or night, check your thermometer regularly, especially in the first few weeks after setting it up and after making water changes. This is because, if you check once a day, for example, you may not notice the heating effect of sunlight or lighting systems.
- Consider tank placement - Where you keep your tank can have a considerable impact on water temperature. For example, if your tank is next to a window or radiator, sunlight and central heating could raise the temperature of the water past safe bounds. Uncontrolled aquarium temperature is only one of the issues that can be caused by poor tank placement too, so read our full ‘Finding the right place to set up a fish tank’ guide to make sure you avoid the most common pitfalls and give your fish the safest environment possible.
- Separate thermometer - While some heaters will feature an in-built water thermometer, we would always recommend using a separate thermometer. This is because, if your heater or chiller malfunctions, having another independent reader will allow you to keep track of your temperature more accurately.
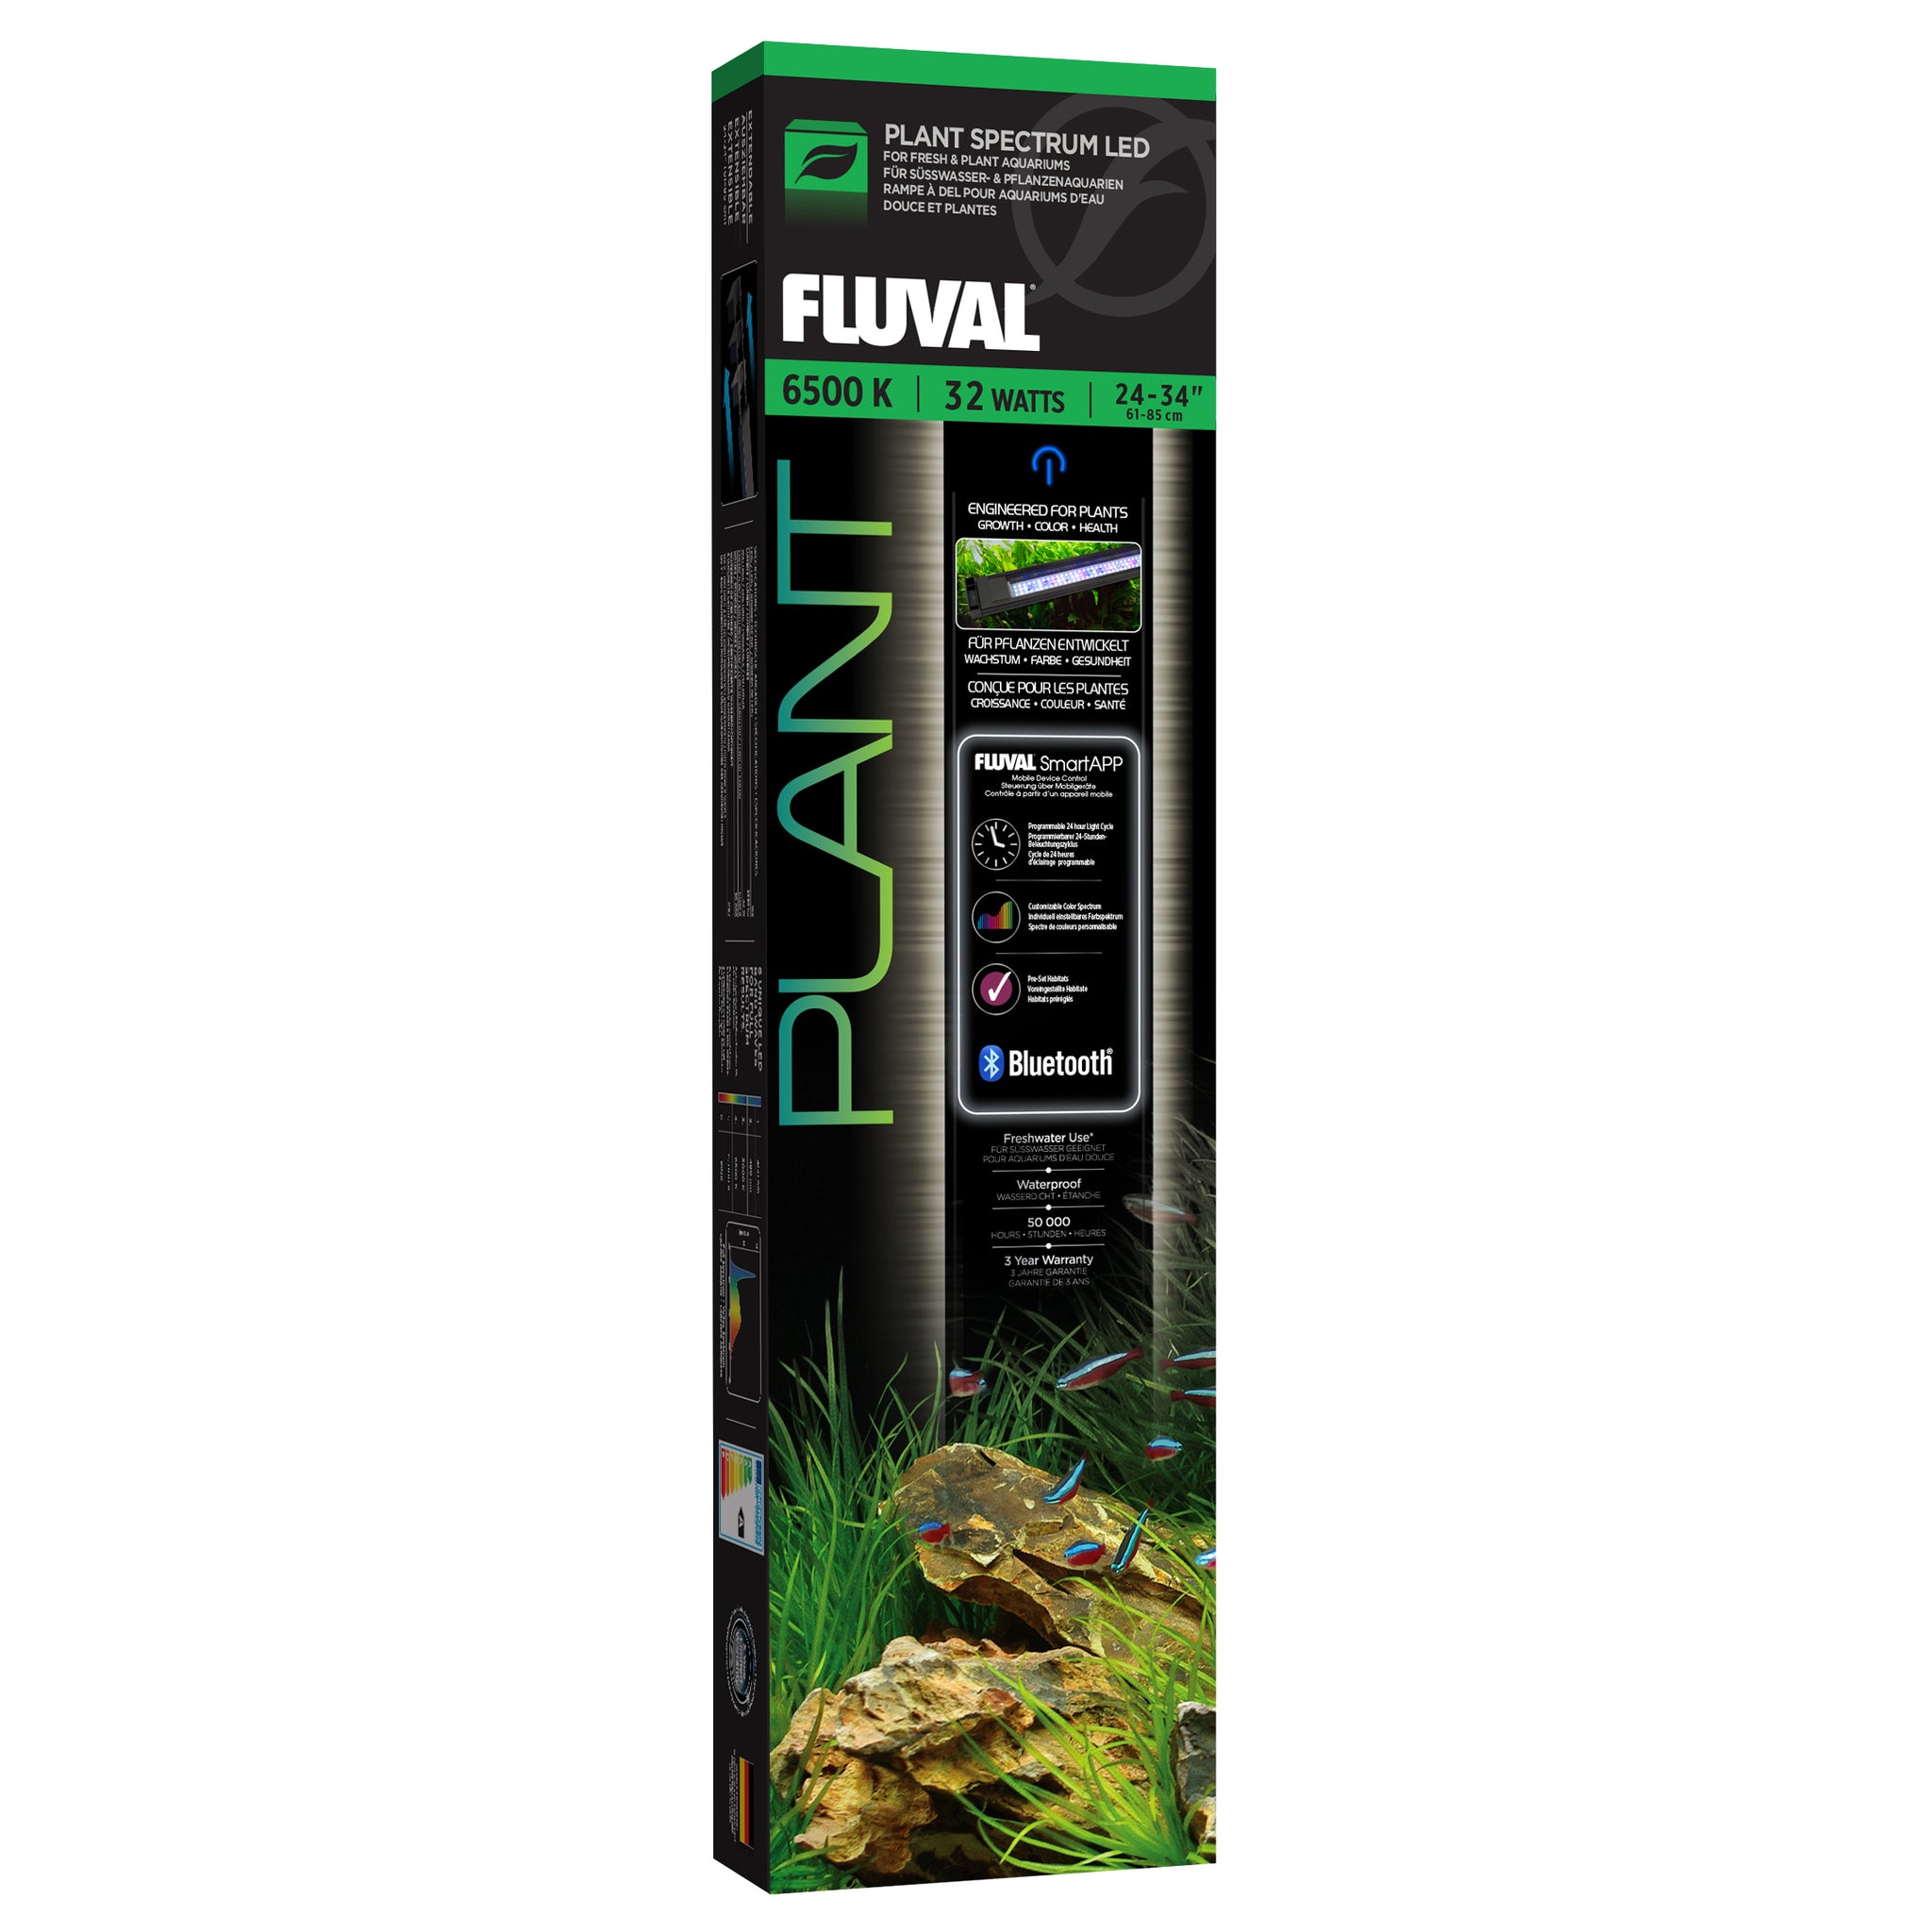
- Energy-efficient lighting - If you have lighting systems for your tank which aren’t very efficient and are prone to overheating, your water could be exposed to temperature increases. The most efficient way to light your tank is with an LED lighting system, which is the coolest type to run and shouldn’t affect tank temperature.
- Water changes - In your ongoing maintenance routine, try to protect the temperature of your tank by making small and frequent water changes, where the water you’re adding to the tank is within one degree (where possible) of the water in the tank.
Effectively control your aquarium water temperature with Aquacadabra
At Aquacadabra, our fish tank temperature collection has everything you need to keep your tank as cool or as warm as your fishy friends need to stay happy and healthy. Shop the range to find the right heater, chiller or thermometer, or get in touch with our friendly team of experts to get personalised advice.
]]>